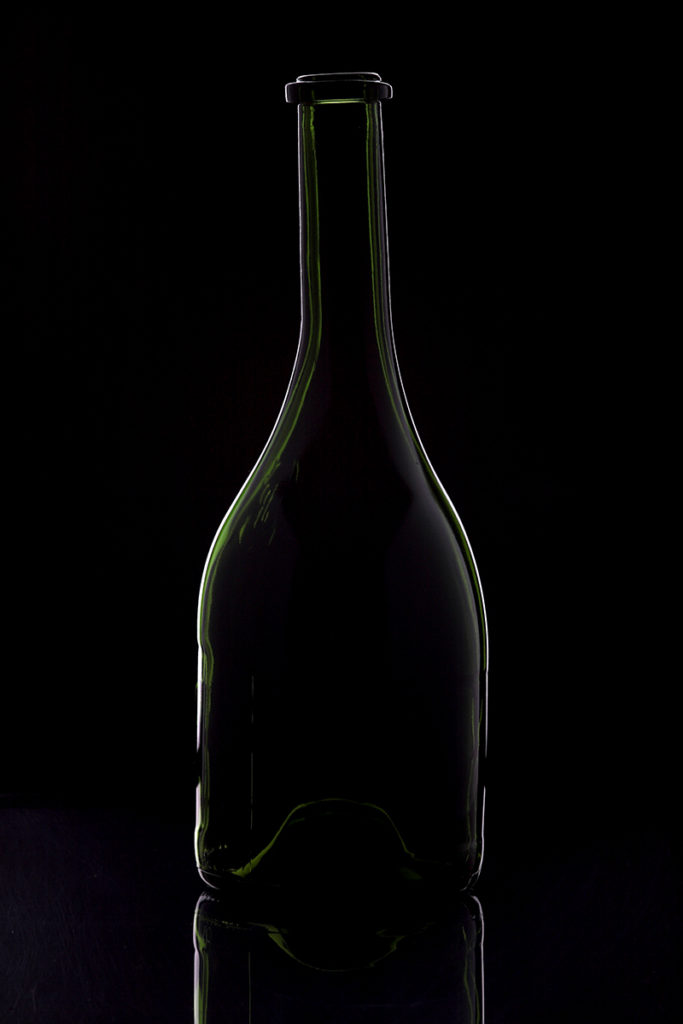
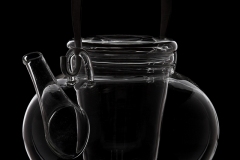
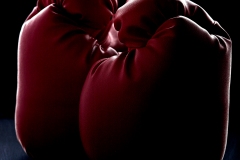
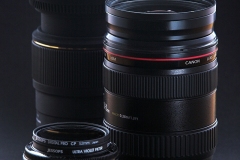
A while back I wanted to understand how these kind of images were captured and what lighting setup was used – I’d seen various images of this type and thought I could create something similar… But how was it done and what was the style of photography called?
A google search later and I came across ‘Dark Light photography’ which yields many results, with various tutorials, video walk throughs and other advice, after reading a few of these, I felt I had the information I needed, just had to give it a go. If you’re interested in trying this yourself, then hopefully the below will give you an idea of how you can recreate these types of images in your own home. Here is a list of the things I used:
- Dark background – some sheets of black card.
- Off camera flash – Elinchrom D-lite with a softbox, but you could equally just use a flash.
- Flash bounce – white card and some polystyrene packing I had.
- Reflection on the bottom of the images – I took the perspex insert from a cheap picture frame for this, a sheet of glass would work equally well (with either of these, make sure they’re clean!) or you could simply go without.
- Random props to keep things in place – I had an upended stool, books, glassware, tape, blue tack, anything can work here…
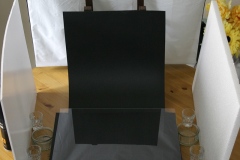
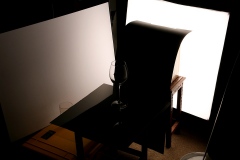
In the setup photo on the left, I’ve simply used a tabletop as my ‘studio’ with the soft-box behind. One piece of black card elevated (I used an old dictionary) upon which the objects to be photographed would be placed (with the perspex on top to give the mirrored effect), behind this another sheet of black card, swept up in a curve to give a seamless background. Either side, white reflectors to bounce the flash to the sides of whatever I’m shooting – I took a few test shots to see which angle and distance worked best to have these, the above worked well, and this is easy to adjust as needed.
More or less exactly the same for the setup photo on the right, key difference being that I didn’t use a table top this time round and the white reflectors were A2 sized pieces of white card (spaced slightly further out which gave me a greater ‘wrap’ of light).
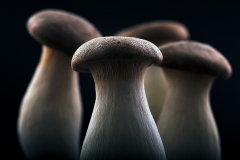
I found that Dark light photography gives more in terms of versatility, regards subject matter, than I initially anticipated which I’ve tried to show with the handful of images here. Each has had very little done in post production aside from some slight levels adjustment and (keep that glassware clean!) some dust spots removed…
Whilst you may not find it necessary, I used a tripod for each of these and a 24mm-70mm lenses with varying focal lengths dependant on the subject. I’ve not provided absolute specifics for each shot which I see in a lot of tutorials, for me, part of the pleasure of photography is learning what works best by yourself and experimenting with different settings and setups.
I’m always keen to hear what has worked well for you and if you have some tips for this style of imagery you’d like to share, please leave a comment below.
